Noise reduction using PixInsight/ACDNR
Pixinsight provides a very useful tool named ACDNR for reducing the noise in astronomical images. A comphensive tutorial is available, and I would encourage everyone to read it to fully understand the full capabilities of this tool. What I have put together here is more of a "first time" guide with some screenshots to step through the process in a little more detail. I assume no familiarity with Pixinsight.
If you do not have Pixinsight installed you will want to download it from the website. It is a time-limited beta at the time of this writing, meaning it will require an Internet connection to run the program, and you will have to periodically download a newer beta when the current one times out.
Then you will need to download the sample data. Then unpack the data (3 FITS files) into a directory you can easily locate later.
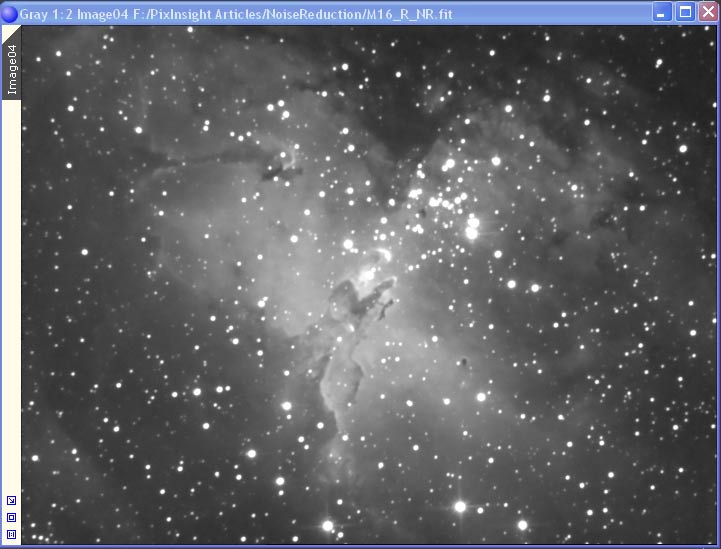
Now run Pixinsight. Then use the 'File/Open' command to open the file 'M16_R.fit'. Move the image window up into the upper right corner, and you should see something like this:
Now load the HistogramTranform tool. It is under the 'Process/Transform Curves' menu item. This tool is used to modify the image data much like the Levels or Curves commands in Photoshop.

Once the dialog pops up move it to the upper left corner of your display:
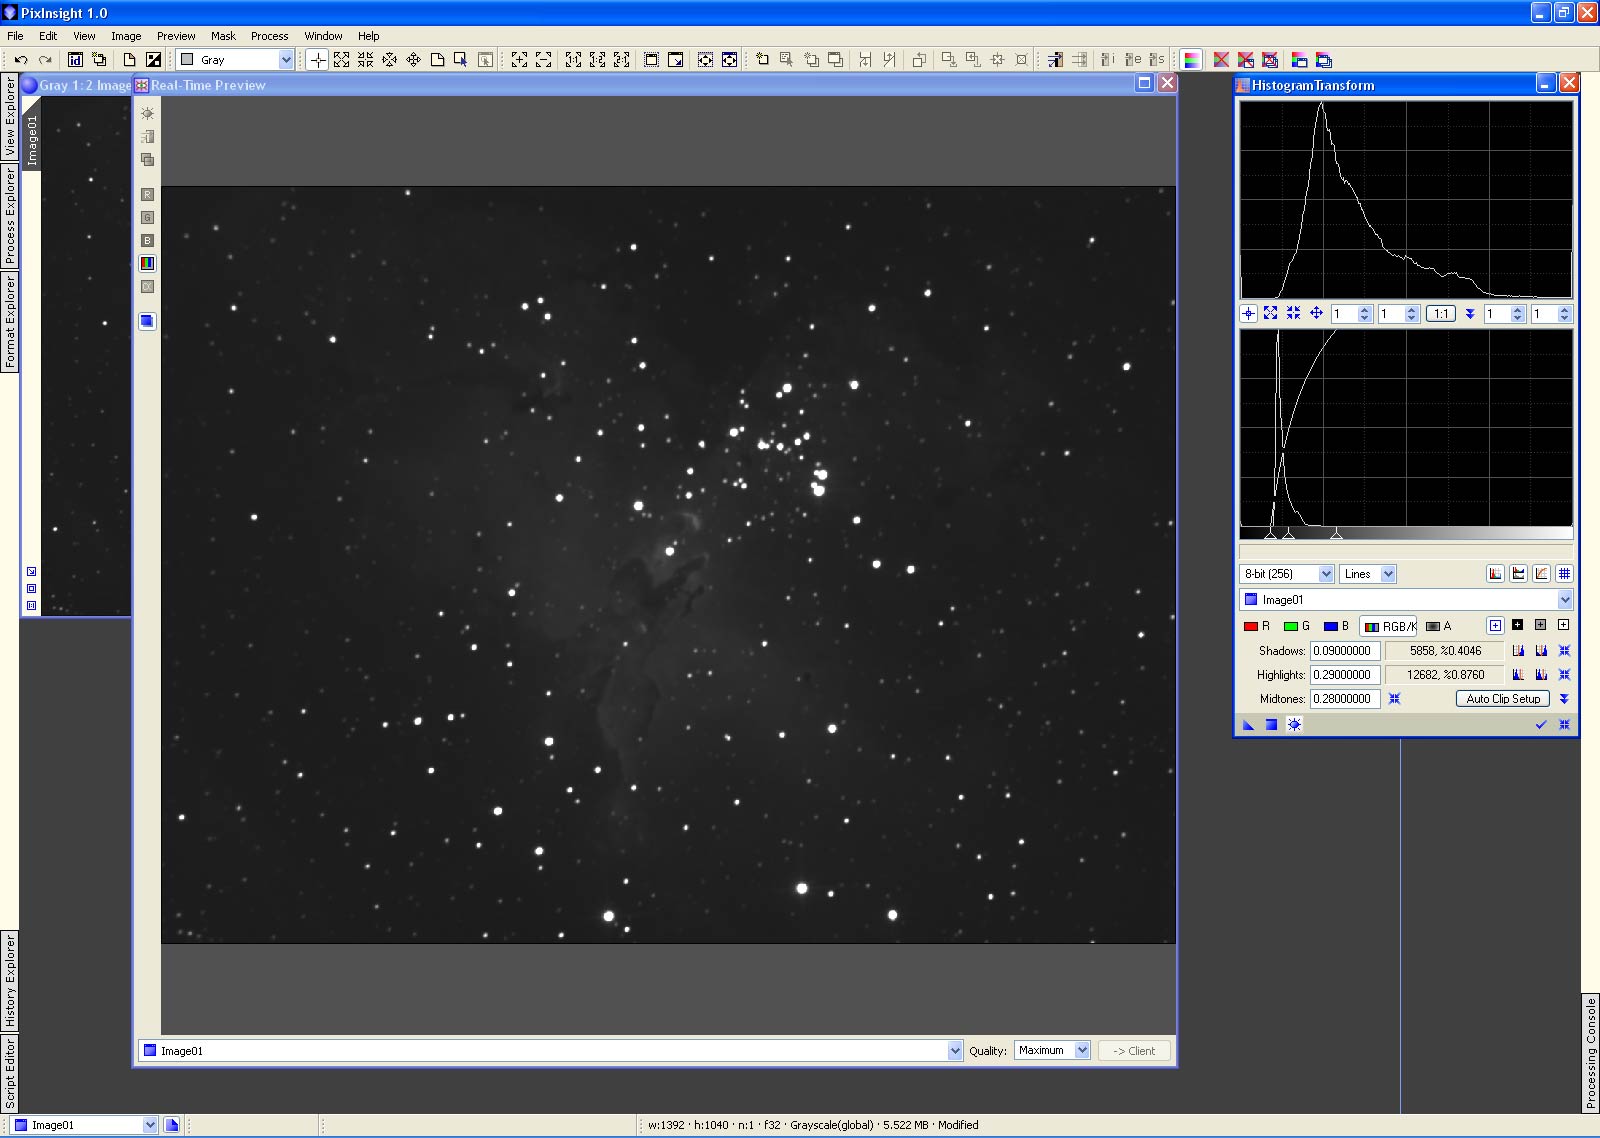
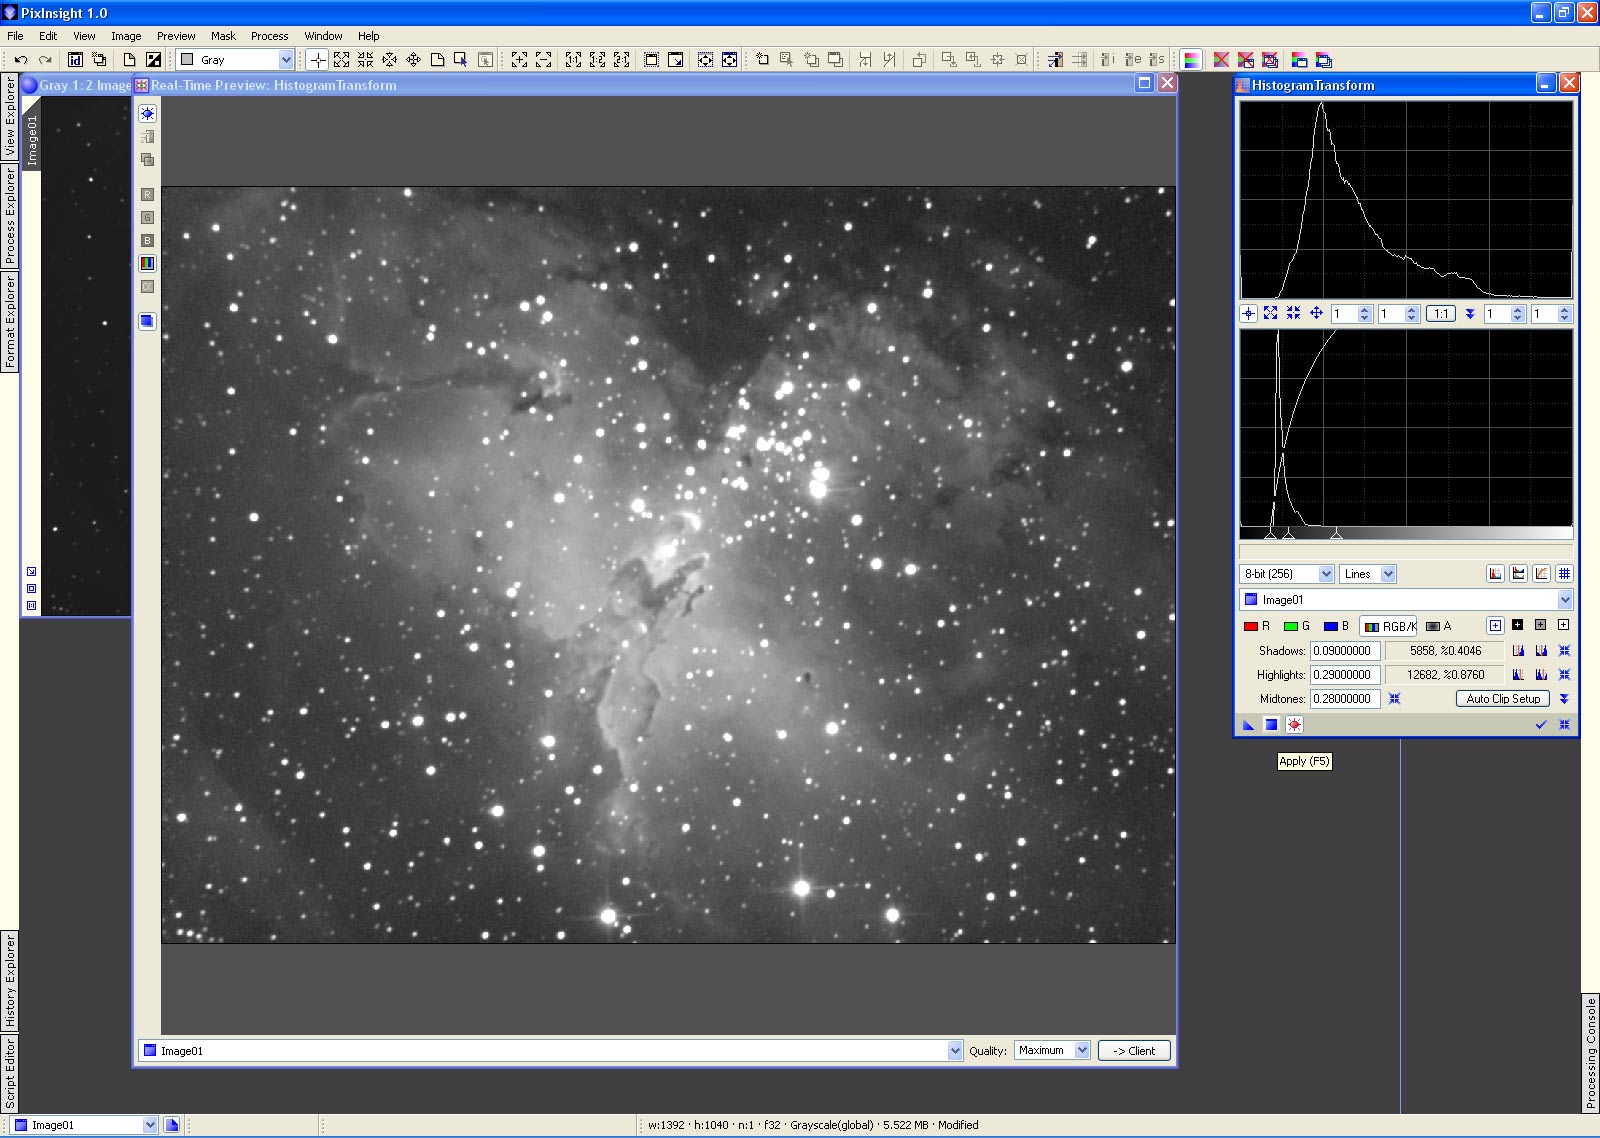
Now we are going to stretch the data to bring out the faint nebulosity. First we must select the image window we want to modify with the HistorgramTransform. This is done using the drop-down menu in the center of the dialog. In this case we want to select 'Image01' where it says 'No view selected'. The dialog has two histogram displays. The lower one is the current histogram of the image, and the upper is the histogram after the settings have been applied. We next need to enable the real-time preview window so we can see our changes as we make them. To do this click on the small asterix-like icon at the bottom of the dialog box:
This will bring up the real-time preview window. I would recommend moving it into the upper left corner of the application. Next you will want to set the real-time preview quality to 'Maximum' using the drop down menu in the lower right of the preview window:
Now the histogram transformation is controlled by three parameters: Shadows, Midtones, and Highlights. These are much like the controls in the Photoshop Curves command. You can control these using the sliders in the lower histogram display, or by entering values into the entry boxes below. For this example enter the following values:
- Shadows = 0.015
- Highlights = 0.100
- Midtones = 0.500
This should yield a preview window that looks like this:
Now to make the changes to the image permanent we need to use the 'Apply' icon at the bottom of the HistogramTransform dialog:
We will need to make one more change to the histogram before we are
ready to try our hand at noise reduction. Hit the 'Reset' icon on the
HistogramTransform to restore the settings to neutral:
This time enter the following values and hit the 'Apply' button on the HistogramTransform window:
- Shadows = 0.100
- Highlights = 0.290
- Midtones = 0.280
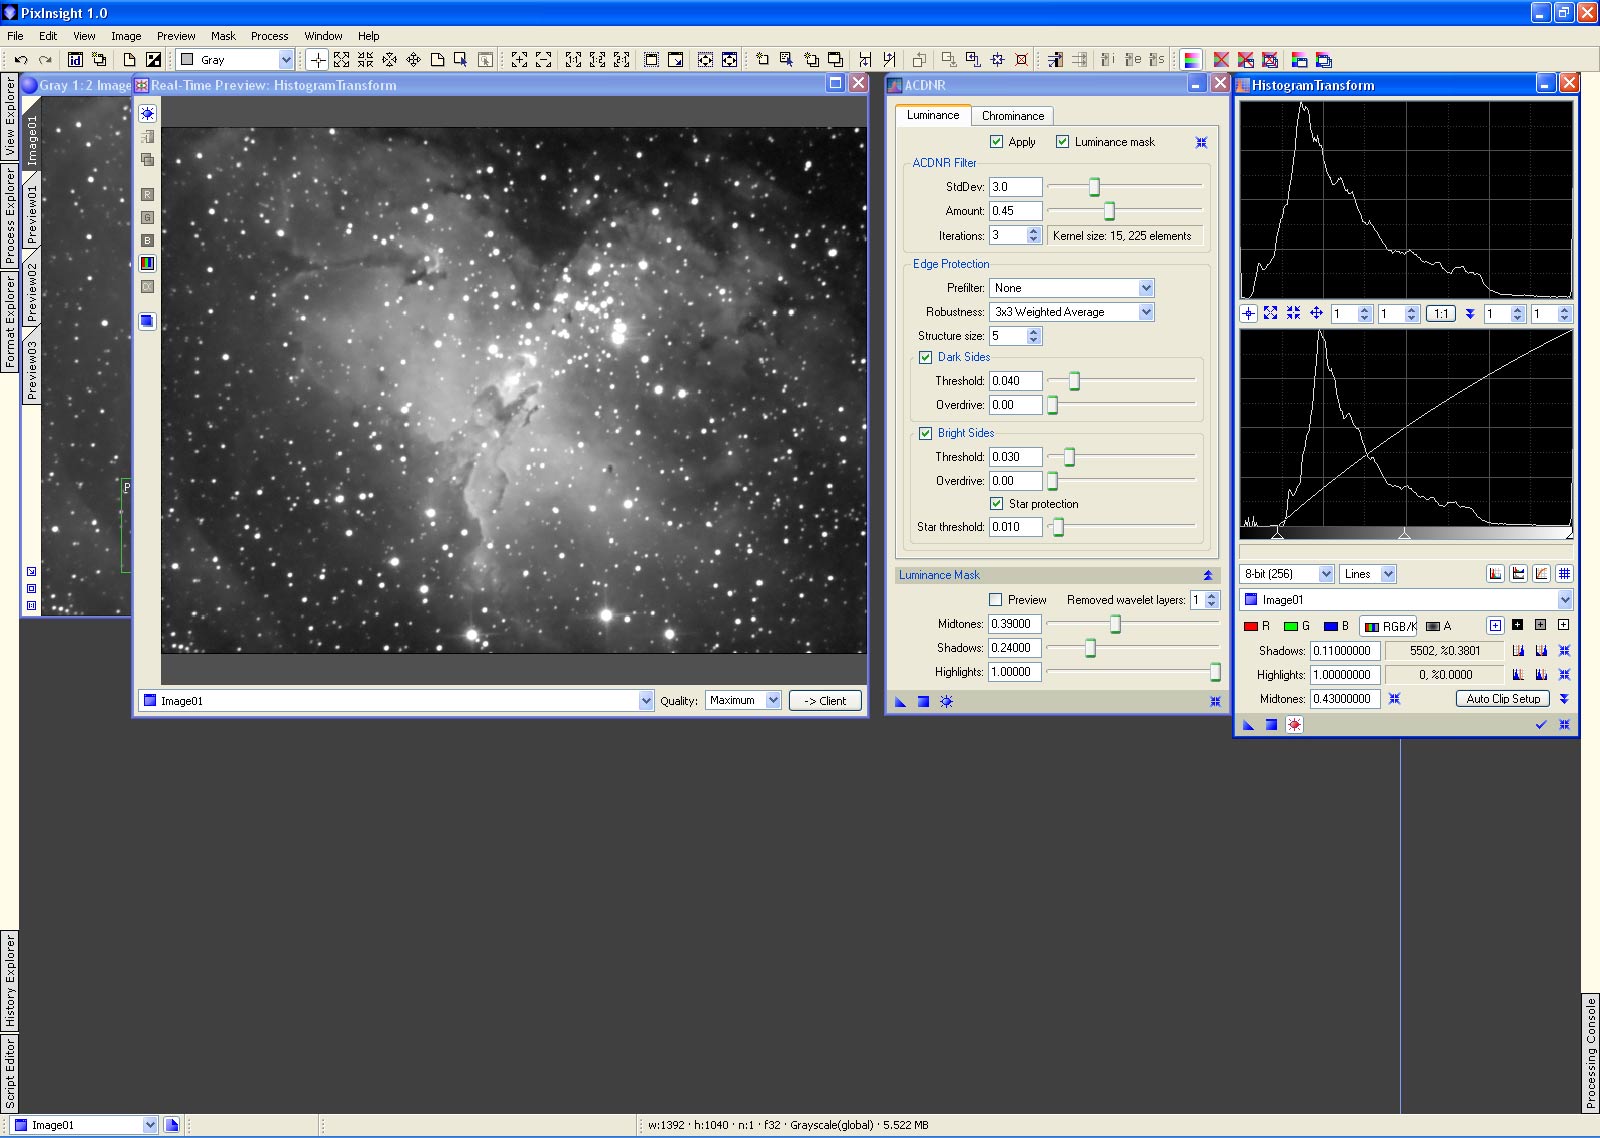
If you examine the darker areas closely you will see there is noticable amounts of noise. We can address this using the ACDNR tool. It is located under the 'Process/NoiseReduction' menu item. Go ahead and launch this tool and slide it over to the left of the HistogramTransform tool:
Now close the real-time preview window so you can see the original image display window..
We are going to use an alternate and powerful way to preview changes within Pixinsight. We can define sub-frame views of the main image and then apply a process tool to just the sub-frame preview. The advantage of this approach is that it is much faster to preview the effect of a filter on a sub-frame than having to wait each time for it to execute on the entire frame.
The keystroke to define a new preview is "Alt-N". The cursor will change and then you click-drag out a rectangle on the main image display to define the sub-frame for the preview. Define 3 previews this way (you need to hit "Alt-N" each time to enter a new preview after the previous one). Be sure to define them in the order shown (starting at the top):
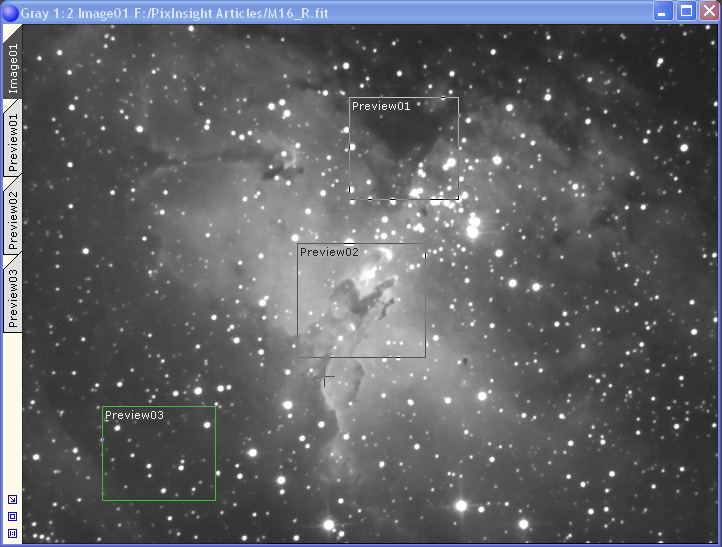
Now you will see three new side-tabs on the left side of the main image display for each of the previews. Click on the first preview tab called 'Preview01'. Use your mouse-wheel or 'Cntl-+' to enlarge the preview so it mostly fills the image window.
Now we can experiment with the parameters in the ACDNR window and click on its 'Apply' button, and as long as we have the preview selected the changes will appear in the preview, leaving the original image data unchange. You can use 'Cntl-Shift-Z' to toggle between the preview data and the original image data, quickly seeing what changes were made.
For the purposes of this example I will give you some reasonable values for the ACDNR window:
- Apply = On
- Luminance mask = off
- StdDev = 3.0
- Amount = 0.45
- Iterations = 3
- Prefilter = None
- Robustness = 3x3 Weighted Average
- Structure size = 5
- Dark Sides = On
- Dark Sides Threshold = 0.040
- Dark Sides Overdrive = 0.000
- Bright Sides = On
- Bright Sides Threshold = 0.030
- Bright Sides Overdrive = 0.000
- Star protection = On
- Star protection threshold = 0.010
Now click on the 'Apply' icon on the ACDNR dialog window and you will see the change applied to the preview window. Now hit 'Cntl-Shift-Z' to toggle the preview window between the modified data and the original image data. You will see we smoothed out the noise but we appear to have smoothed the brighter areas too much and have reduced the contrast.
To remedy this we will now use a luminance mask. This is the same idea as using a layer mask in Photoshop. The pixels in the original image corresponding to bright pixels in the mask will be changed more than those corresponding to dimmer pixels in the mask. By adjusting the mask we can make sure that only the faintest (and noisiest) parts of the image recieve the full extent of the noise reduction, while protecting the brighter areas with sufficient signal-to-noise from being excessive blurred.
First you will need to click on the 'Luminance mask' checkbox at the top of the ACDNR dialog box. This will reveal the settings for the luminance mask at the bottom of the dialog box.
Next click on the 'Preview' checkbox in this newly revealed area. The real-time preview window will pop up. We are going to define the mask using the sliders. Set them for the following values:
- Preview = On
- Removed wavelet laters = 1
- Midtones = 0.39
- Shadows = 0.24
- Highlights = 1.00

The stars are almost completely black and the brighter areas of the nebula are now a darker grey color. The brightest areas of this mask correspond to the faintest areas in the original image.
Now click the 'Preview' checkbox off and close the real-time preview display.
Next click on the 'Apply' button for the ACDNR window and you will see the changes appear in the preview window. Notice that the brighter areas of the image are not smoothed as heavily and retain more of their contrast. The fainter areas still look much better since the mask allowed the noise reduction to occur in these areas.
Click on the preview tab for 'Preview02' and 'Apply' the ACDNR filter to this preview. The 'Eagle' is mostly unchanged as we had hoped. You can also check 'Preview03' as well in the same way.
I want to stress that the original image data has not been modified yet. We've just been previewing changes to sub-frames of the original image. Now we want to apply the filter to the entire image. Click on the image tab for 'Image01' and you will see the main image. Click on the 'Apply' icon in the ACDNR dialog and this time it will take longer for the filter to run since its operating on the entire image.
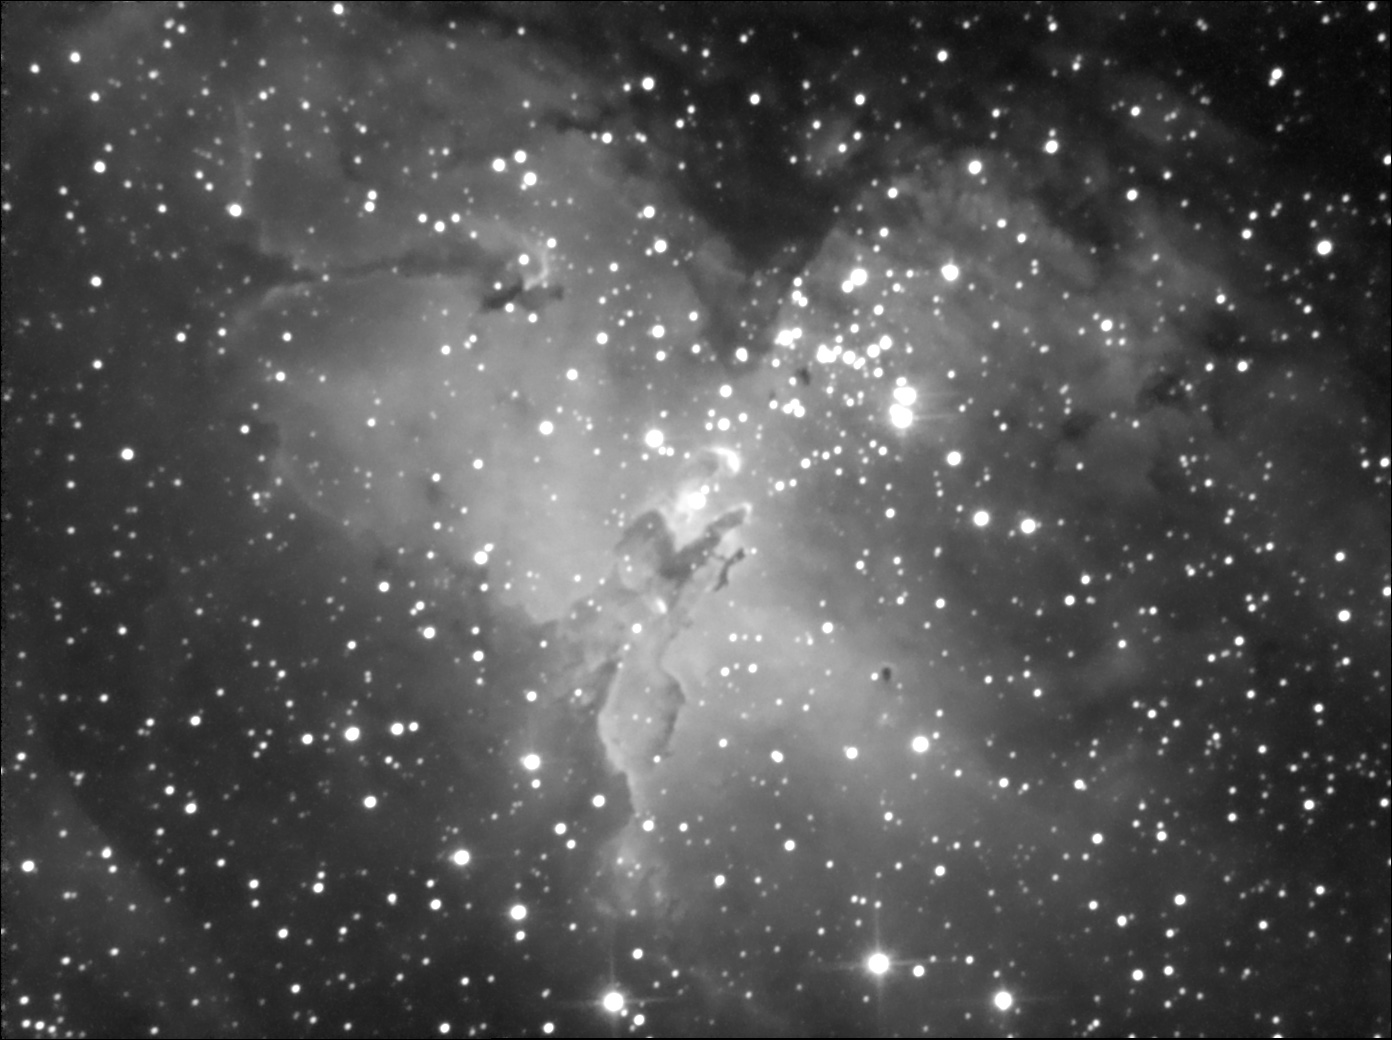
When its done you should have something like:
This data is available from the ZIP file you downloaded as 'M16_R_NR.fit'.
As a final step we can tweak the contrast slightly using the HistogramTransform tool again to darken the faintest areas. Bring up the real-time preview again in the HistrogramTransform tool and then hit its 'Reset' button in the bottom right of the dialog. Then slide the 'Shadows' tab over towards the left side of the histogram curve in the lower histogram display until the real-time preview looks like you desire.
My final image is stored as 'M16_R_FINAL.fit' in the ZIP file.
Here it is:
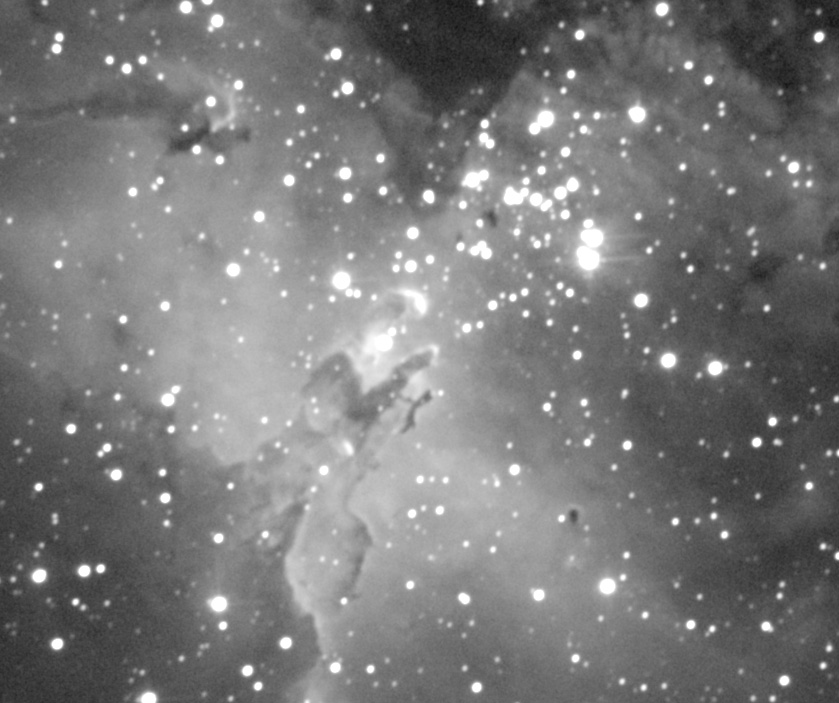
The following is a central crop of the image comparing the original and final versions. Just move your mouse over and off of the image to see the comparison.
Now you can go back and adjest the ACDNR parameters to see how it affects the final outcome. If you think the image looks too smooth you could try reducing the 'StdDev' and 'Amount' parameters. Using the sub-frame preview window you can very quickly explore different values.
The next level of complexity with the ACDNR tool is to use it for noise reduction on color images. For this you would switch to the 'Chrominance' tab of the ACDNR dialog box. It looks just like the one for 'Luminosity'. You can usually smooth the color data much more than the luminance data. I usually figure out the values for the luminance first, then work on the color settings. Either way I always use the sub-frame preview windows so I can quickly compare the results of different sets of parameters.